Gate loops are an essential component of automatic gates, providing a means of detecting vehicles and controlling gate operation. In this article, we will explore the ins and outs of gate inductive loops, from understanding their mechanics to step-by-step loop installation instructions. Whether you are a gate professional or a homeowner looking to enhance the security and convenience of your property, this comprehensive guide will equip you with the knowledge you need to make informed decisions about gate loops.
Understanding Gate Loops: An Introduction
Before delving into the technical details, let's start with a basic understanding of gate loops. Gate loops, also known as vehicle presence detection loops, or induction loops, are either buried beneath the surface of driveways or entrances to detect the presence of vehicles or installed above ground. When a vehicle passes over the buried loop, or next to the above ground loop, it generates an electromagnetic field disturbance that triggers the gate system to open, close or stay open.
Gate loops are a reliable method of vehicle detection and offer a variety of uses, including access control, safety measures, and convenience. By understanding the mechanics behind gate loops, you can appreciate their importance in modern gate systems.
The Mechanics of Gate Loops: How They Work
Gate loops operate based on the principles of electromagnetic induction. An electromagnetic field is created when an alternating current passes through a wire loop buried beneath the surface. This field extends above the loop, and when a conducting object, such as a vehicle, enters the field, it disrupts the electromagnetic balance.
The disruption of the electromagnetic field triggers the gate loop detector, which in turn initiates the necessary action such as opening, closing or keeping the gate in the open position. This mechanism allows for seamless vehicle detection and control, enabling efficient access management and enhanced security measures.
The different types of gate loops
Gate loops come in various types and configurations, each designed for specific use cases. Some common types of gate loops include: prefabricated loops, loop wire, wireless gate loop and exit loop/probe. Here's a breakdown of the different types:
Prefabricated Loops
When it comes to gate loops, you may come across the term "prefabricated loops." These are loops that have been pre-manufactured and are ready for installation. Prefabricated loops often come in standard sizes and configurations, making them a convenient option for many installations.
Utilizing prefabricated loops can save you time and effort compared to manually assembling loop wires on-site. These loops are typically more accurate and consistent in their performance, ensuring reliable vehicle detection. There are 2 types of prefabricated loops:
Direct burial: these loops are installed on top the rebar (before pouring concrete) as well as under gravel or asphalt (dig an area, bury the loop and re-compact the loop area)
|
Saw Cut Loops: these loop are inserted in narrow slits in the driveway (you will need to sawcut the driveway to create these slits).
|
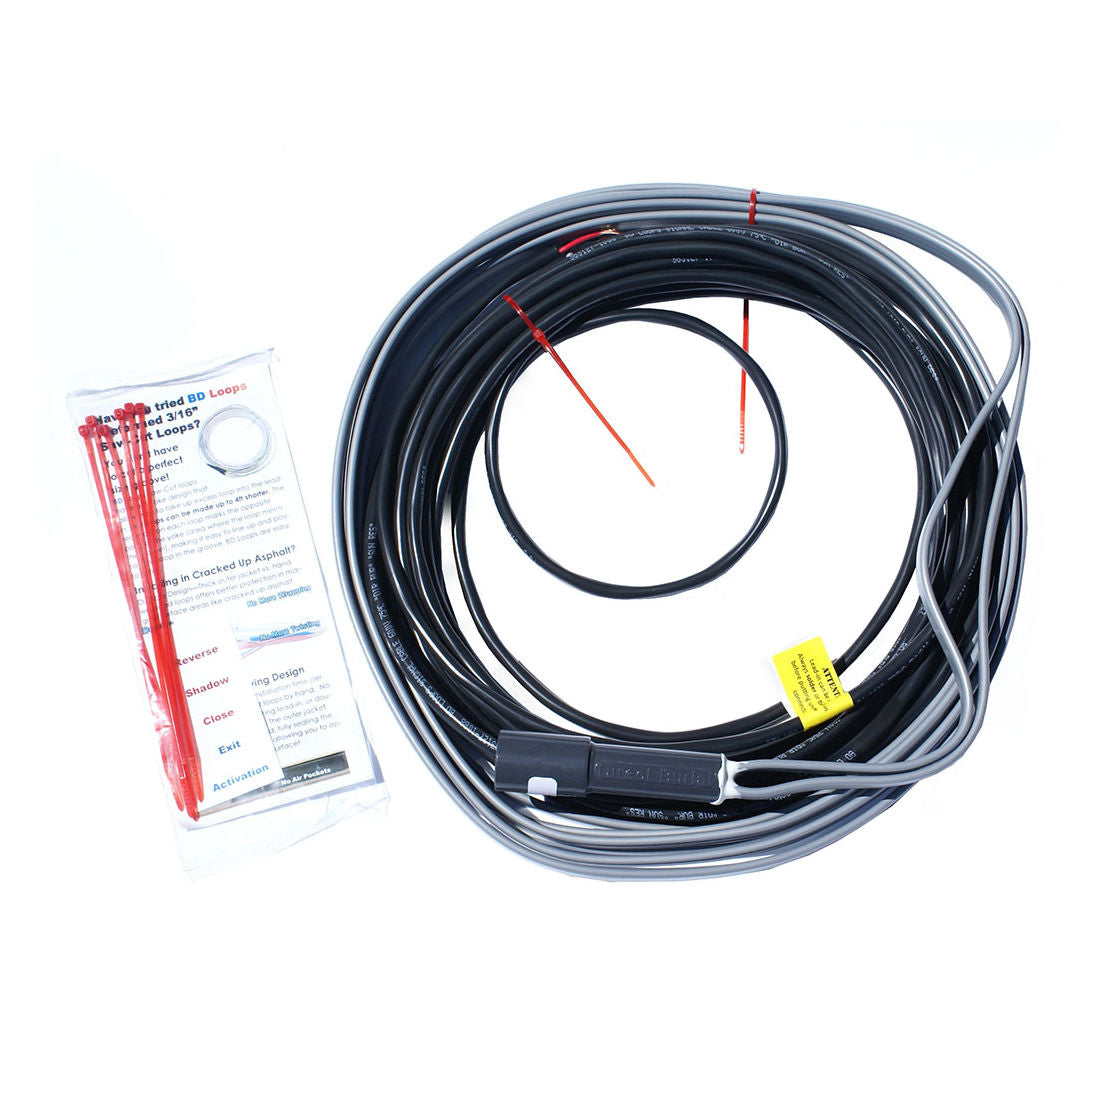
Loop Wire
Loop wire installation refers to manually assembled loop wires on-site. Loop wire installation, also known as cross-linked polyethylene (XLPE) installation, refers to the process of installing the loop wire beneath the surface of the driveway.
XLPE wire is a durable and thermally stable material that withstands the environmental stresses associated with burial and ensures long-lasting performance.
During XLPE loop wire installation, the wire is carefully placed in the sawcut slits in the driveway, taking care to prevent any damage or kinks that could affect its performance. The wire is then connected to the loop detector or gate operator.
|
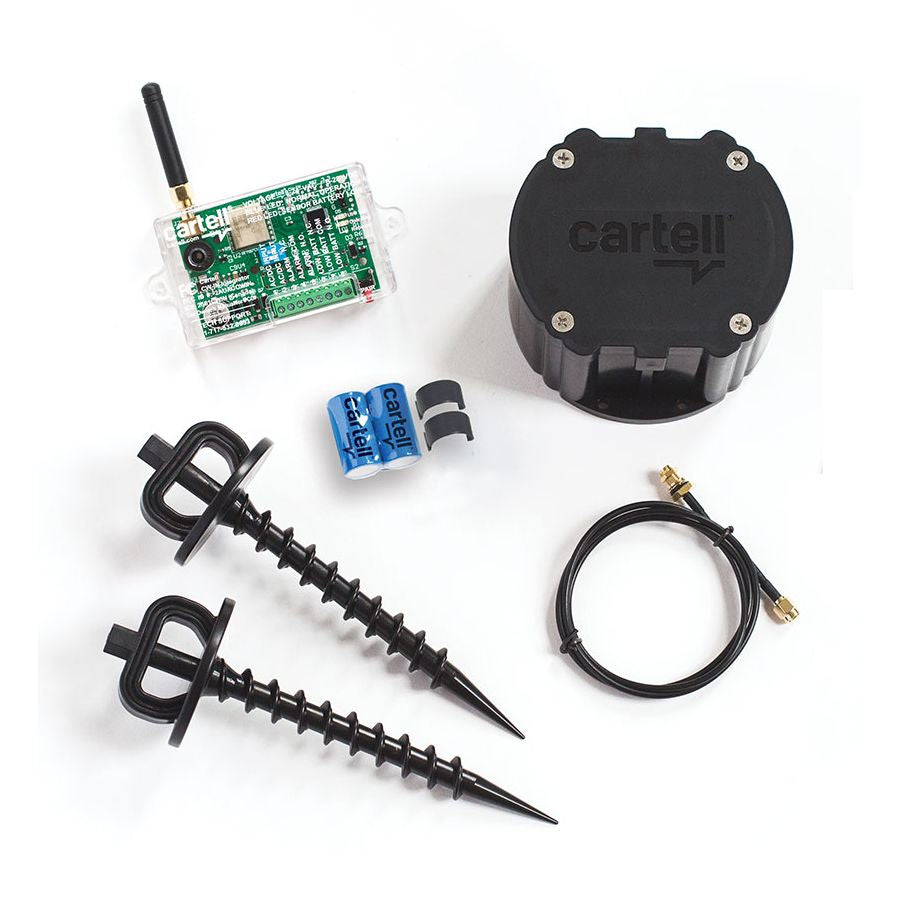
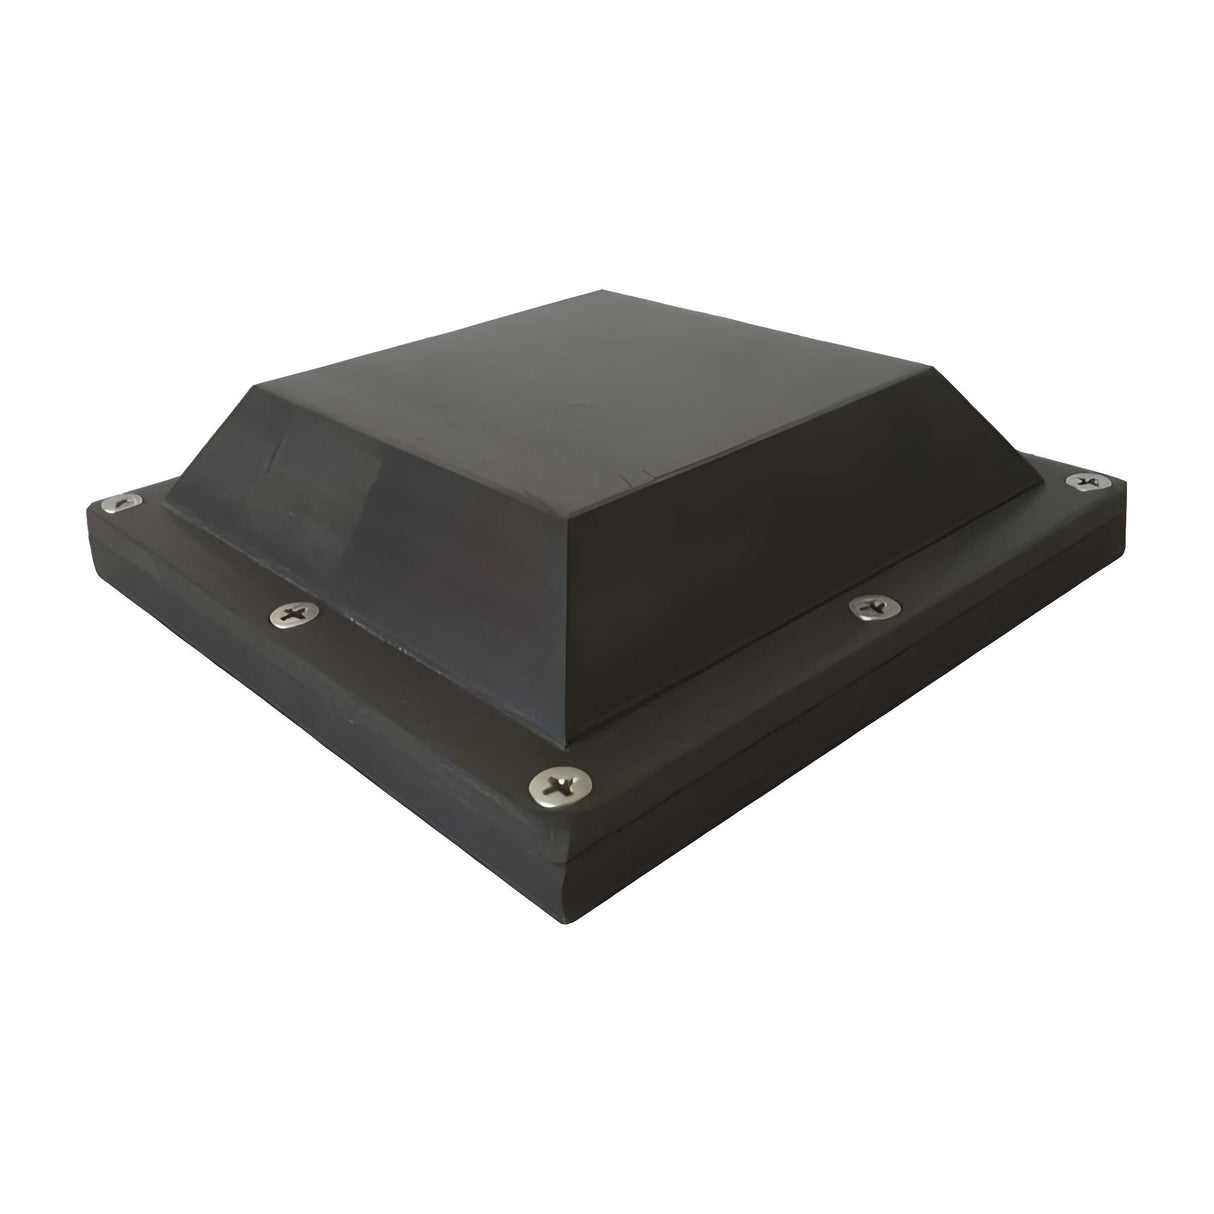
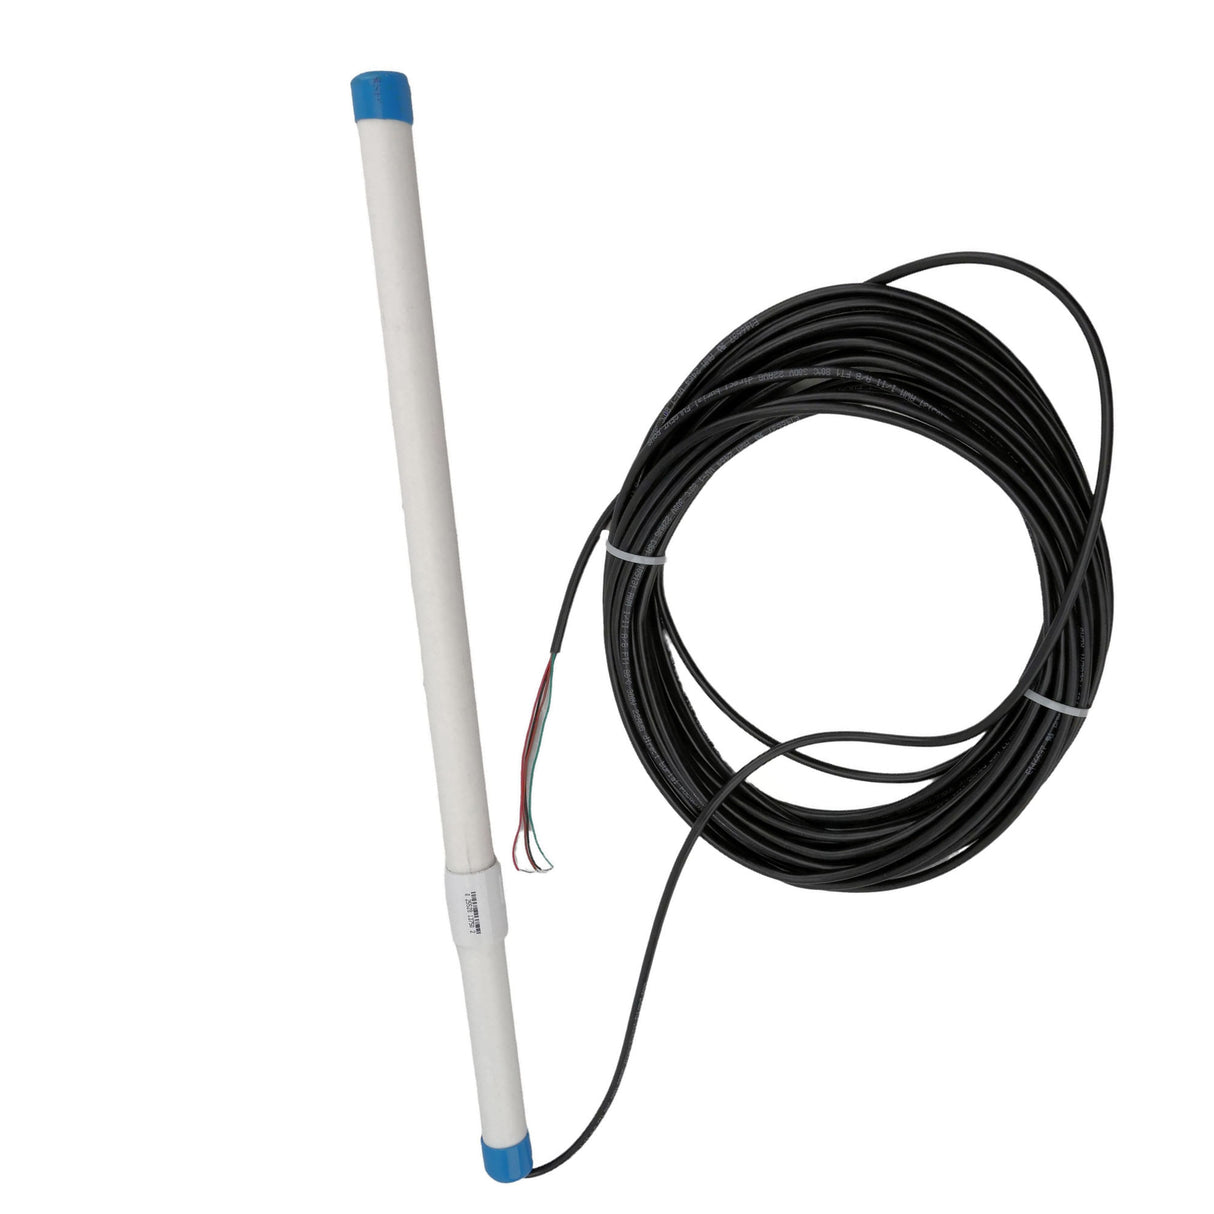
Wireless Gate Loops
Wireless loops offer an alternative solution for vehicle detection without the need for physical loop wires. These loops utilize advanced wireless technology to communicate between the loop and the gate operator or controller.
Wireless exit loops provide a flexible and convenient option for retrofitting existing gate systems or installations where the use of physical loop wires is not feasible. They offer reliable performance while eliminating the need for digging trenches and installing loop wires.
Wireless loops consist of 2 parts, the transmitter and the receiver. The transmitter can be installed in the center of the driveway, flush with the driveway, under the driveway or above the driveway. This loop "puck" transmit a signal to the receiver upon induction interference to cause the gate to open/close or stay open depending on the use.
The best selling wireless loop is made by Cartell, followed by Access One and AES:
|
 |
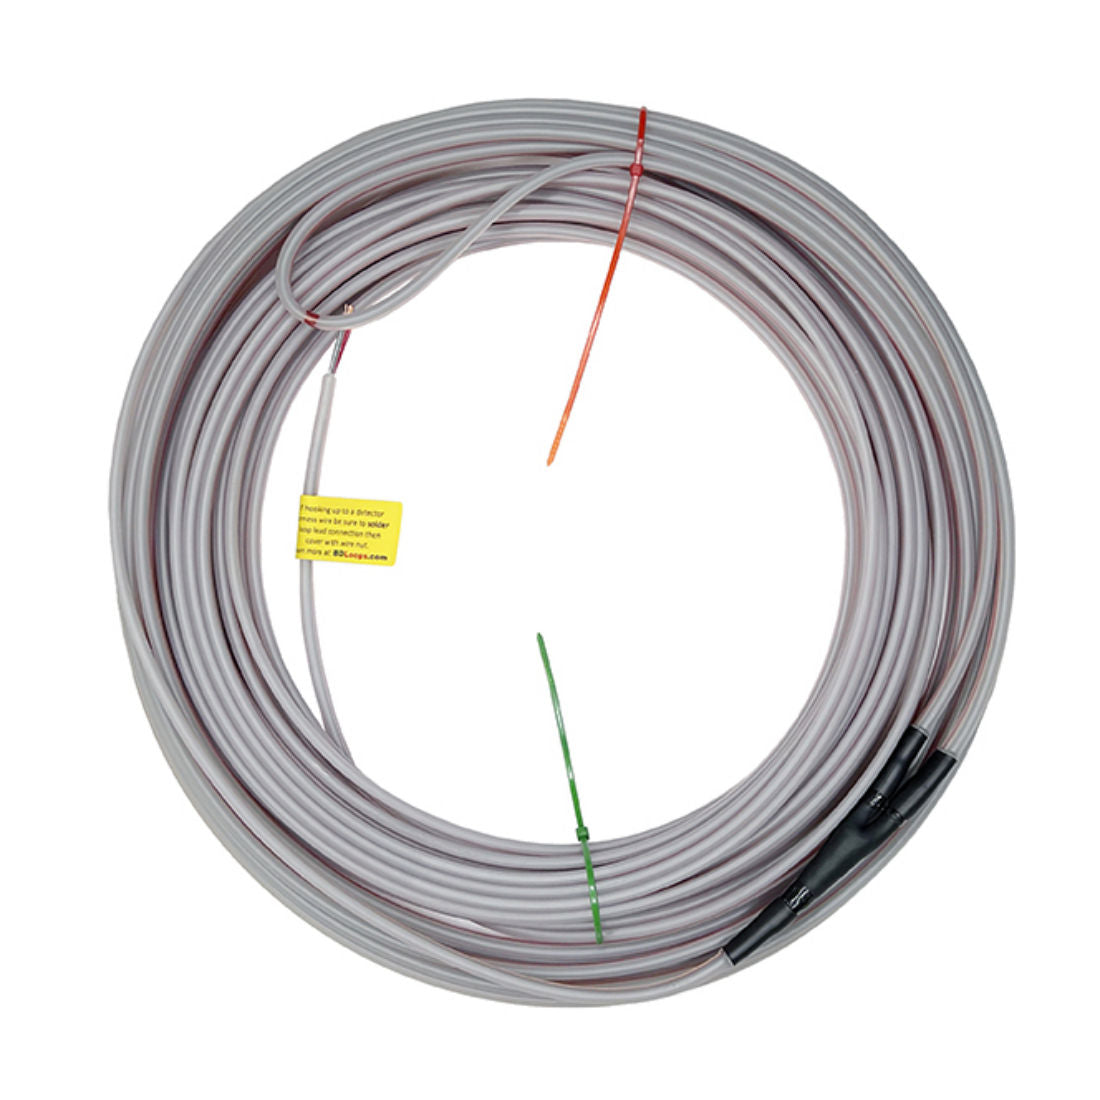
Exit Probes
Exit probes are also known as exit pucks or exit wands. They are easy to install devices that are placed either on the side of the driveway, or at the center of it. They come with a lead wire that runs back to the gate opener or its detector. Most exit probes come with a range of 10ft-15ft radius, which means that if you install the exit device on the side of the driveway, you will have about 5ft - 7.5ft of read inside the driveway. Although these probes may be prone to false reads, their ease of operation makes them the number one choice for diy gate loop installations.
The best selling exit loop probe is made by Cartell, followed by EMX and AES.
|
 |
 |
Step-by-Step Guide to Installing Gate Loops
If you are considering installing gate loops, follow this step-by-step guide to ensure a successful installation:
Planning and Site Assessment
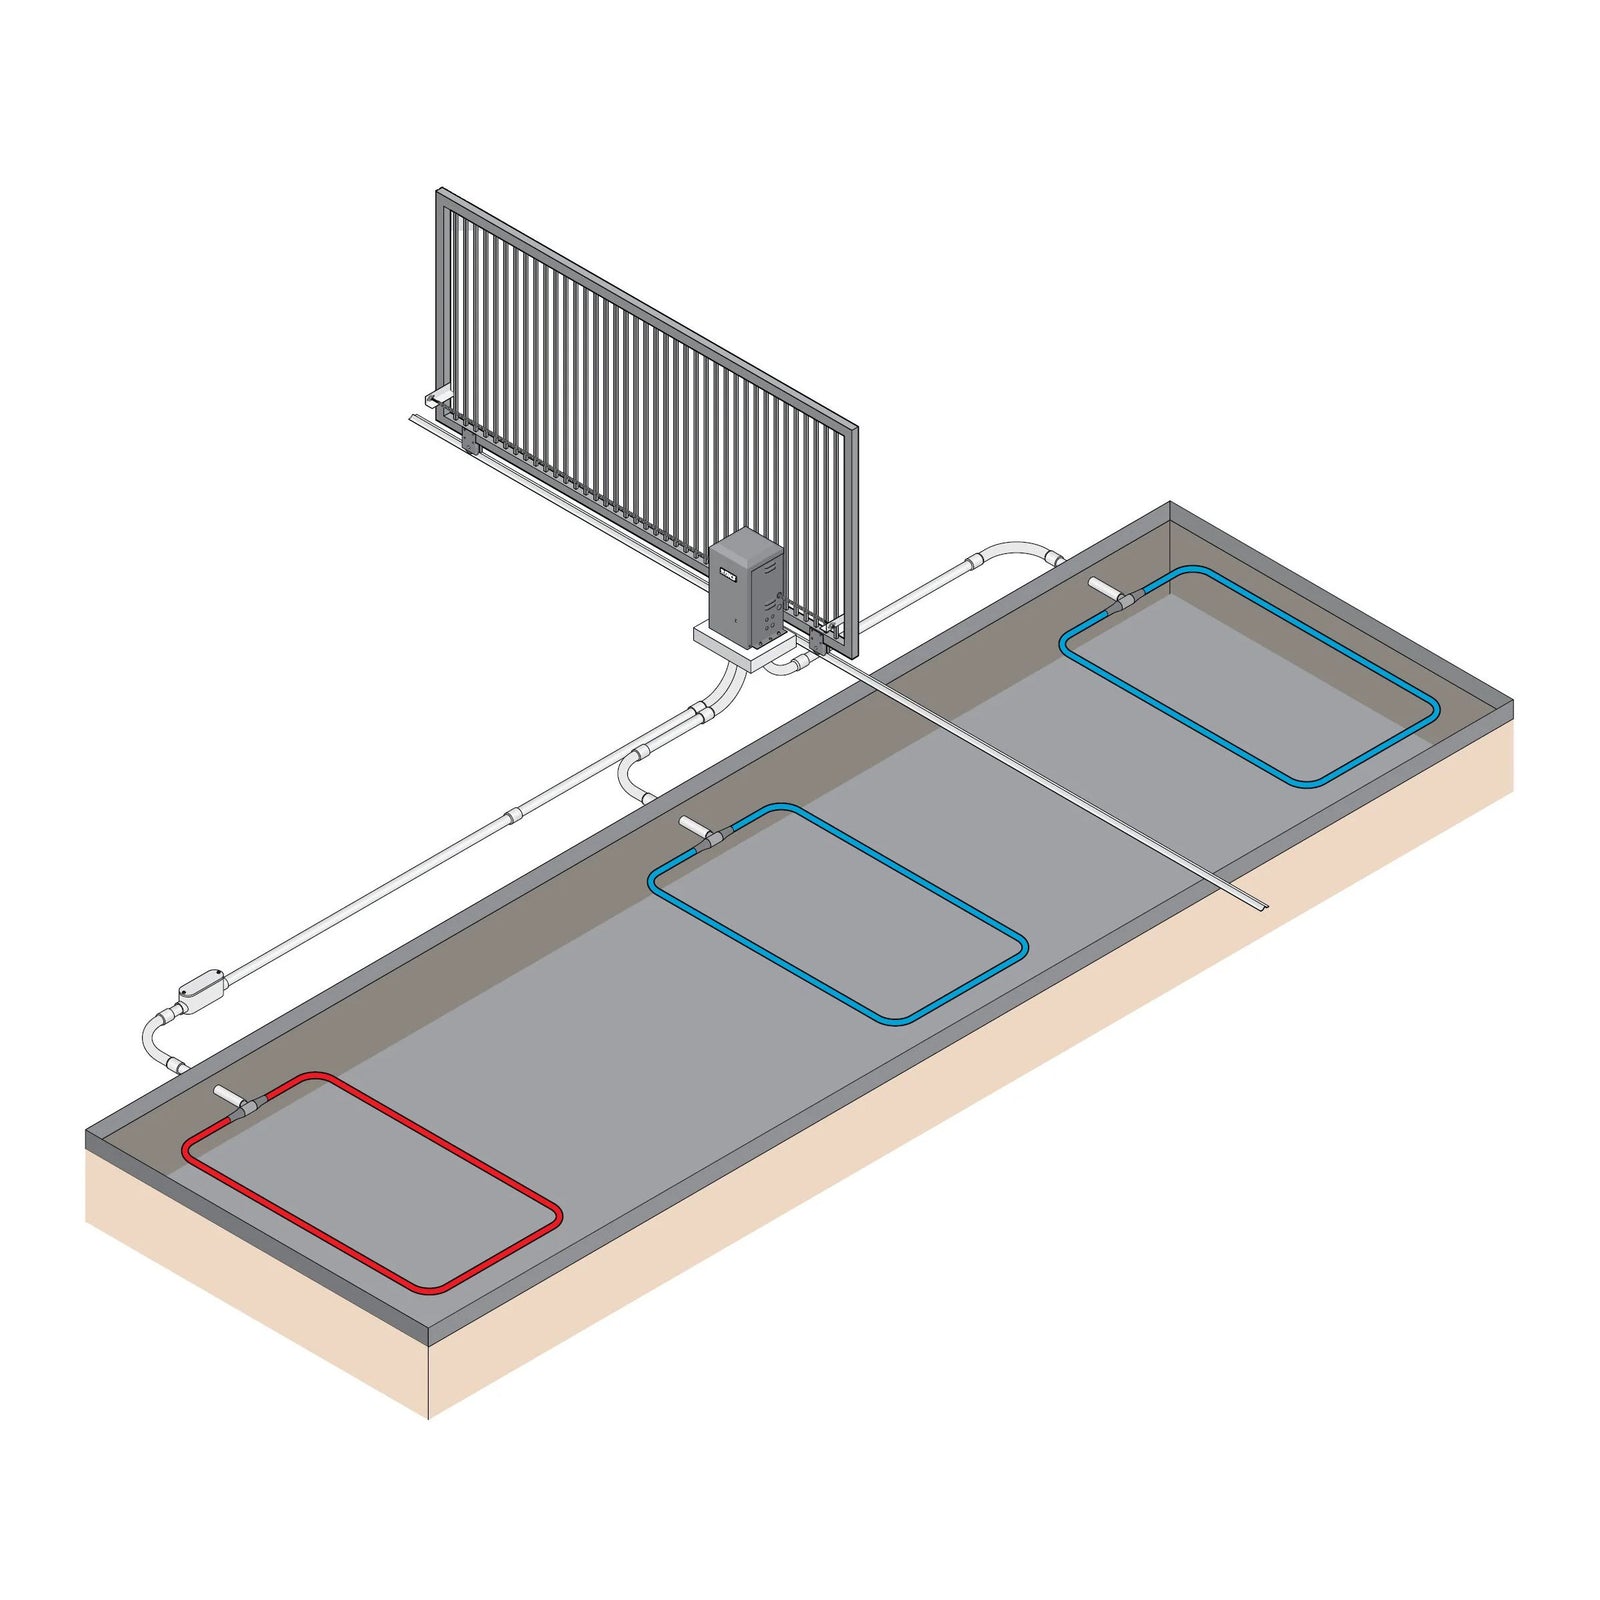
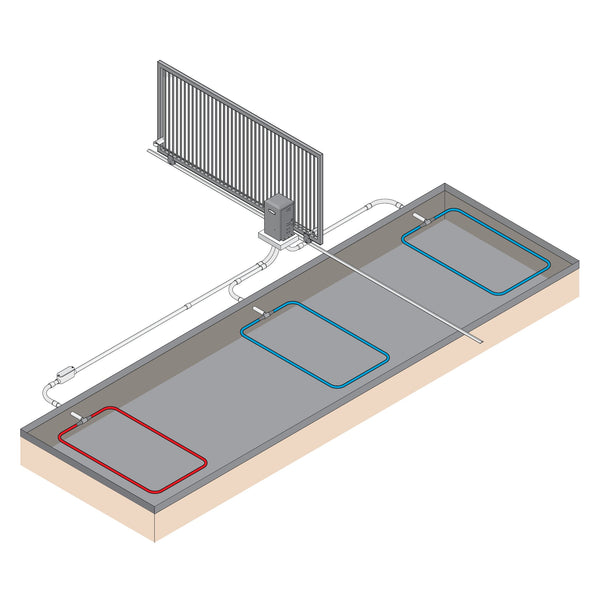
Start by assessing the site where the gate loops will be installed. Consider factors such as gate type (swing gate, sliding gate or barrier arm), and access control requirements. This evaluation will help you determine the optimal loop placement and configuration. To calculate the size of a standard loop, deduct 4ft from each side of the driveway to get the width of the loop. The depth of the loop is usually 3ft - 4ft. If you have more than 1 gate loop, space the loops 4ft apart to avoid crossover interference.
Marking the driveway
If you are creating your own loop using an XLPE wire, or a sawcut loop, use a chalk line to mark the loops on the driveway to visualize your layout.
Digging a trench
Dig a trench on the side of the driveway and install a conduit to run the lead wire from the loop to the gate opener where the loop detector is installed. If you have more than one loop, install a junction box at each loop so each loop can also go inside said conduit.
Here's a typical sliding gate loop layout
Loop Installation:
Prefabricated loop: Following the layout your created, install the pre-fabricated loop on top of the rebar using loop ties, and run the lead wire in the conduit you previously installed. If you have a gravel/asphalt driveway, dig the area where the loop should go, lay the loop on the ground, add a sand layer on top to avoid sharp objects, and compact the area. Add gravel or asphalt, over the sand layer.
Sawcut loop: Following the layout your created with the chalk line, sawcut (slit) the driveway as deep and wide as the manufacturer specifies. Carefully insert the sawcut loop in said slits and according to the manufacturer's instructions. Take care to avoid any sharp bends or overlaps in the wire, as this could impact its performance. Install the lead wire in the conduit you have previously installed.
Loop wire: Following the layout your created with the chalk line, slit the driveway about 1.5" deep by the width of the concreate saw blade (at some points you will need to make the slit a little larger to accommodate the lead wire). Starting at the gate opener, and with additional slack, run the wire to the area of the loop, carefully insert the loop wire in the slits, go around 2-4 times (hence the word loop). Remember that the amount of times you have to go around depends on the size of the loop - the smaller the loop the more times you have to go around. Take care to avoid any sharp bends or overlaps in the wire, as this could impact its performance. Once you finish running the wire in a loop, run the wire back to the gate opener. Now that you have the 2 ends of the loop in your hands, twist them together, then use the twisted portion as the lead wire (installed in the conduit).
Driveway gate loop sealant
Proper sealing is essential for maintaining the integrity and performance of gate loops. Driveway gate loop sealant is designed to protect the loop wires and connections from moisture, dirt, and other external elements.
By applying a high-quality sealant to the loop wires and connection points, you can prevent water infiltration, corrosion, and potential damage. Regular maintenance and inspection of the loop sealant will help ensure its effectiveness over time.
Anytime you sawcut your driveway you must seal the loop with this sealer 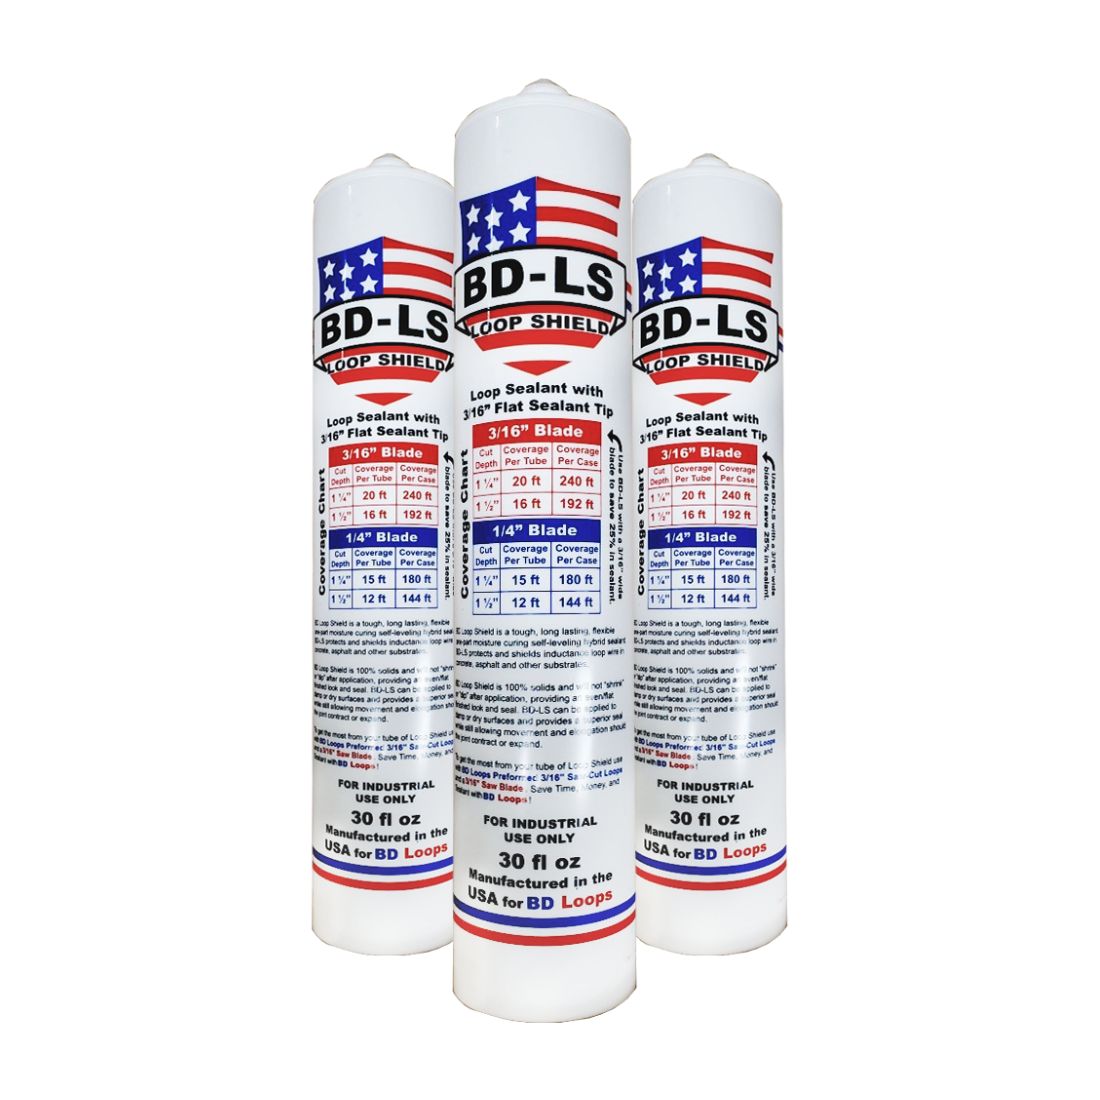
|
Wiring the loop inside the gate opener
Connect the lead wires of the loop to the gate operator or the loop detector according to the wiring diagrams provided by the manufacturer. Ensure proper insulation and secure connections to prevent any issues.
Testing and Adjusting: Once the loop wires are installed, it is crucial to test the system to ensure proper functioning. Use a loop tester to determine if there are any faults and repairs necessary. Alternatively, you can use the loop detector itself to act as a detector, to confirm the detection range and fine-tune any sensitivity settings, but remember that a loop detector is not meant to be a tester so don't rely on it too much - it's worth investing in a tester.
Here's the best selling loop tester on the market

|
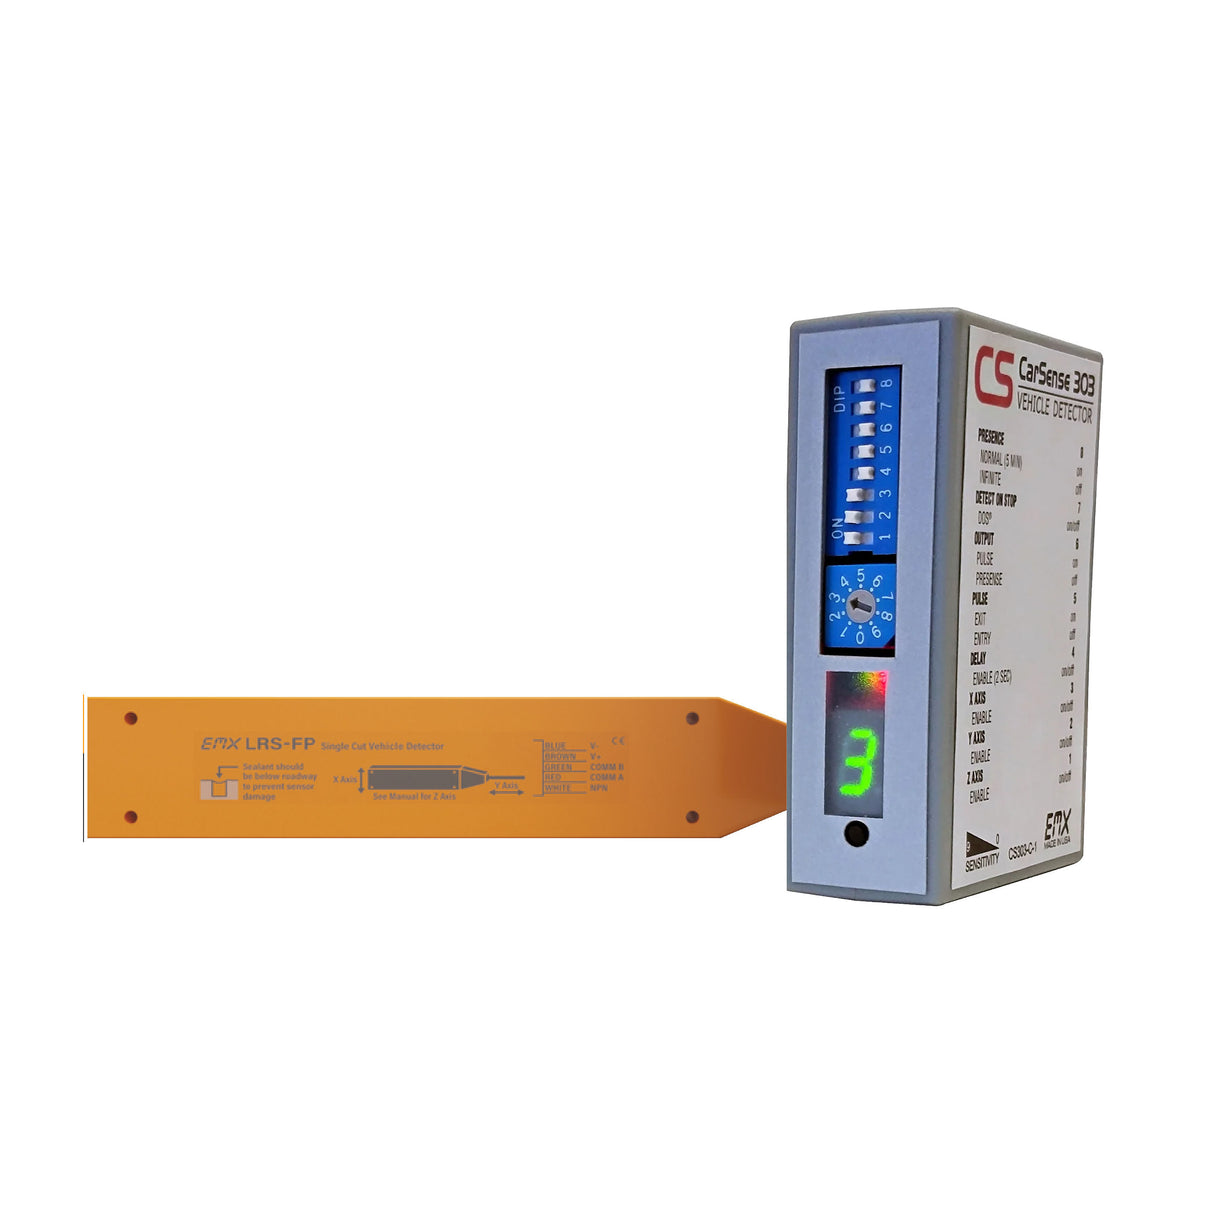
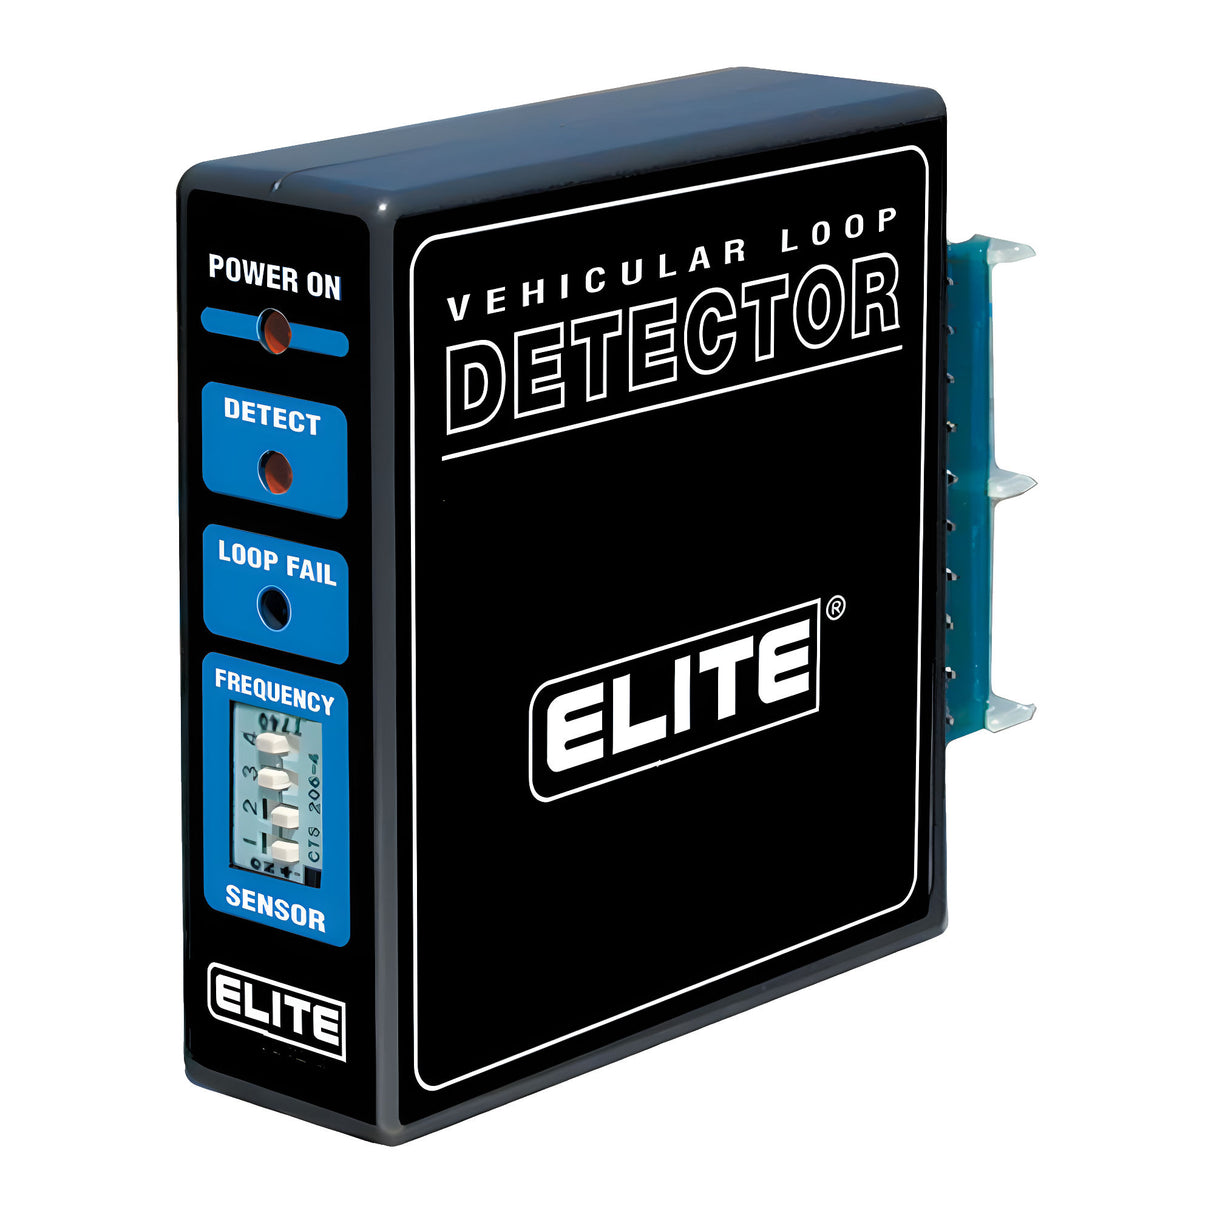
Gate loop detectors
Gate loop detectors are electronic devices that send, receive and process signals from the underground gate loops. They play a crucial role in interpreting the electromagnetic disturbances caused by vehicles and triggering the gate system accordingly.
When it comes to gate loop detectors, there are two main types: plug-in loop detectors and wired, or standalone loop detectors.
Plug-in detectors
Convenient and easy to install since they can be directly plugged into the gate operator's main control board. Most plug in loop detectors are proprietary to the gate opener manufacturer.
|
 |
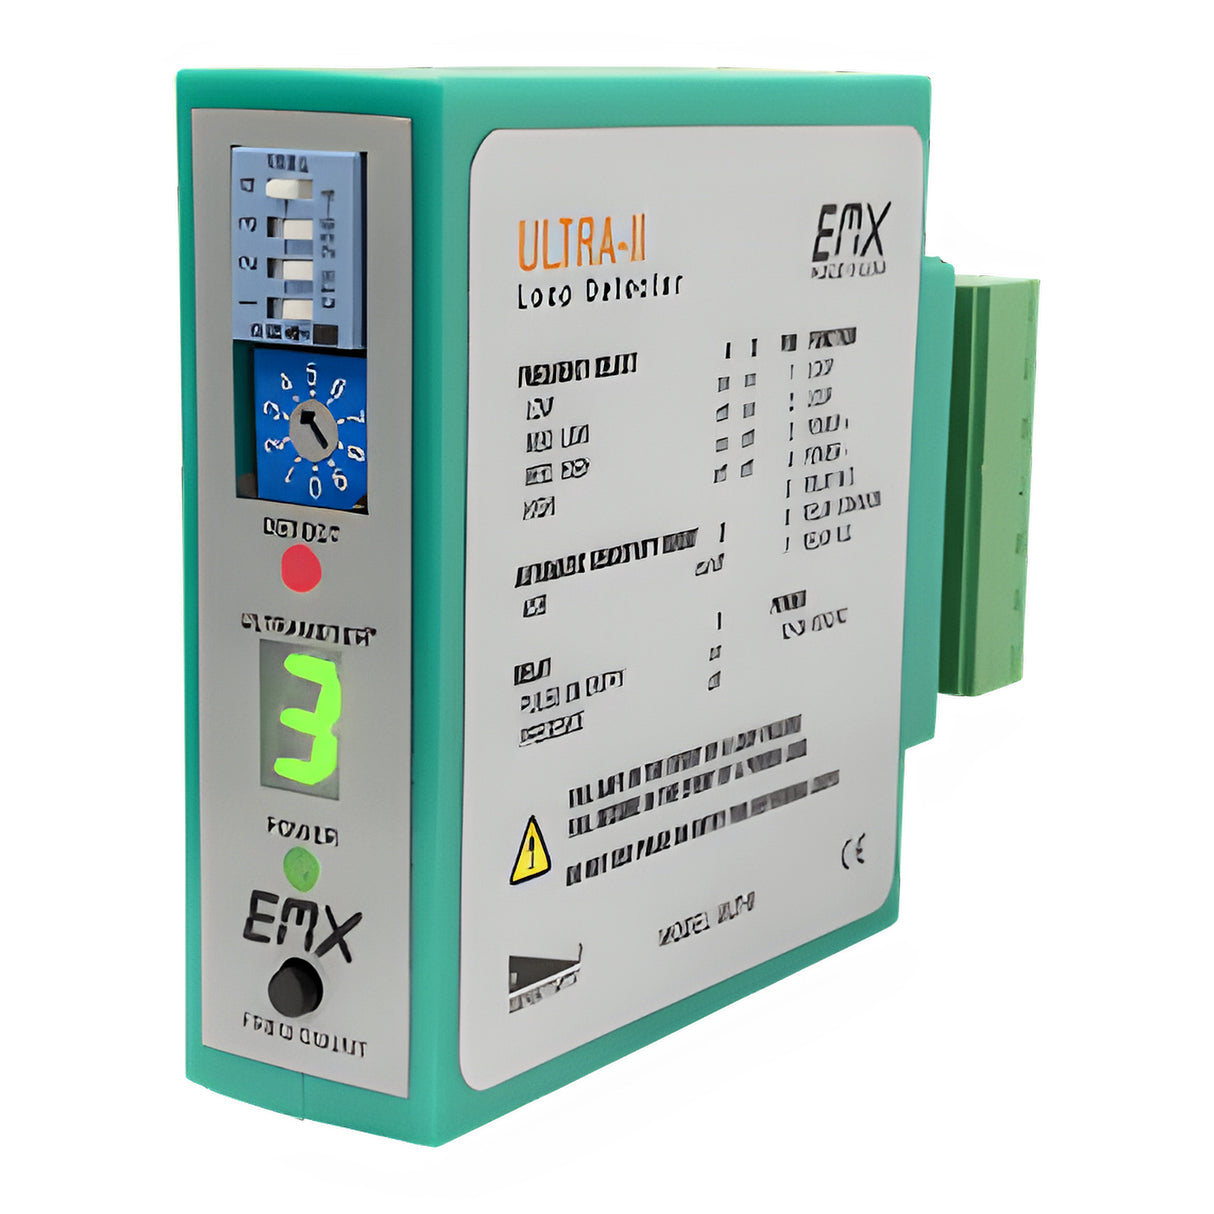 |
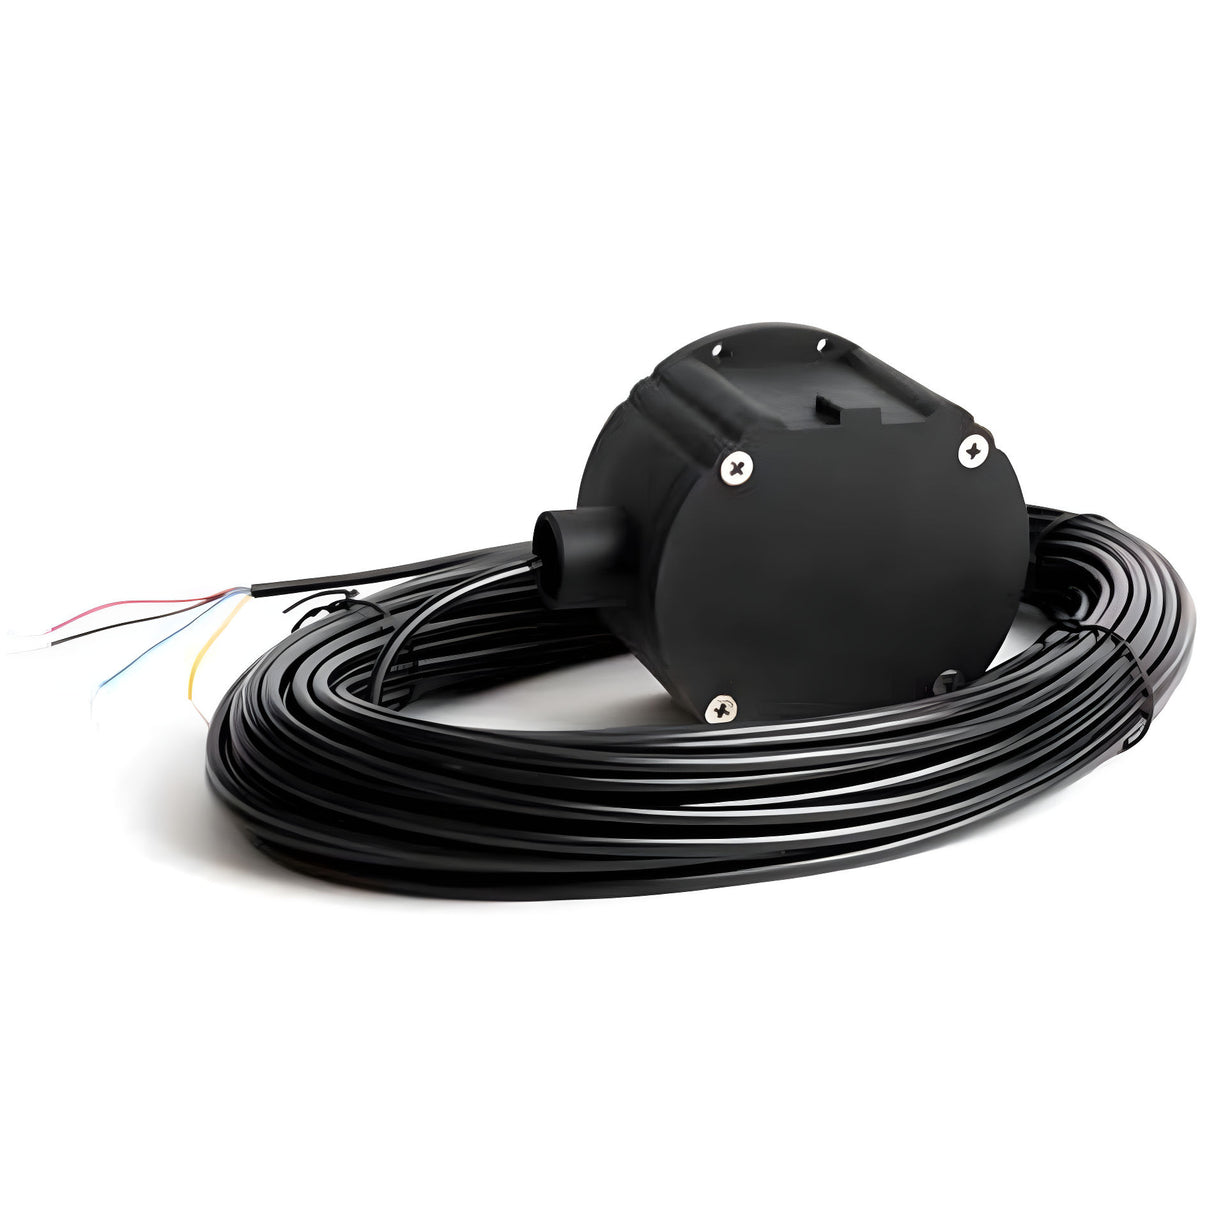
Wired detectors
Wired loop detectors are universal, which means that they work with all gate opener types and manufacturers. Wired detectors require a harness that is wired to the the gate operator's control panel as well as the loop.
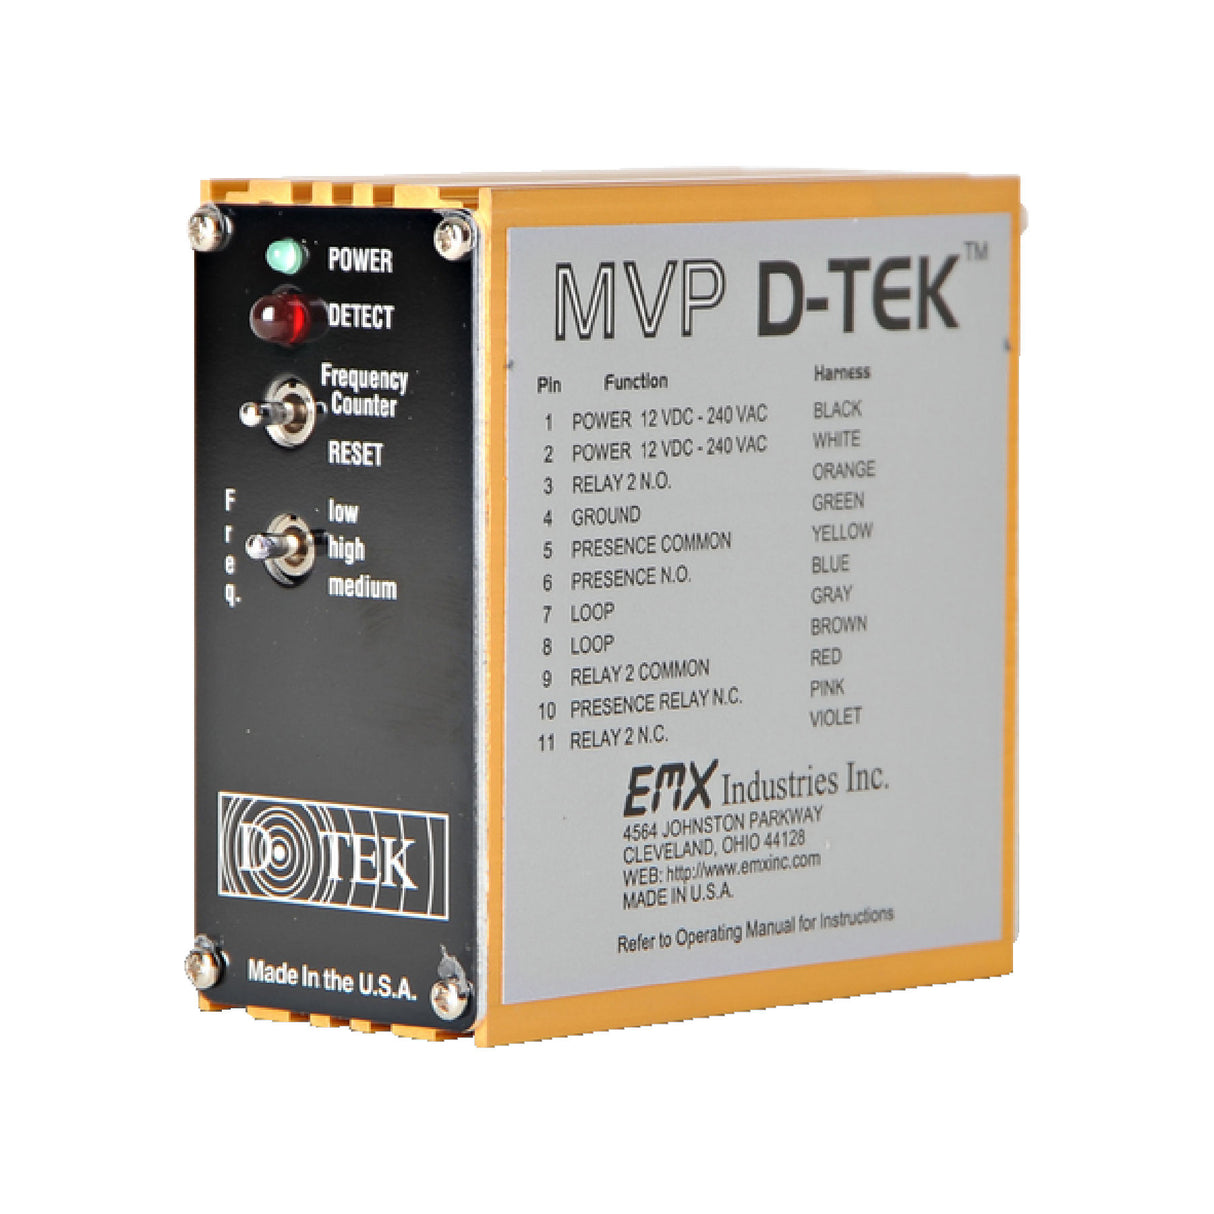
|
|

The choice between plug-in and wired detectors depends on various factors such as the gate system's design, accessibility of electrical outlets, and overall preference.
Troubleshooting Common Issues with Gate Loops
Despite their reliability, gate loops may encounter issues that require troubleshooting. Here are some common problems and their potential solutions:
False Triggers: If the gate triggers without a vehicle present, check for nearby sources of electromagnetic interference, such as power lines or radio transmitters. Additionally, fine-tune the sensitivity settings on the loop detector to minimize false triggers.
Insufficient Detection Range: If the loop fails to detect vehicles within the desired range, review the loop wire placement and ensure proper wiring connections. If necessary, consider adjusting the sensitivity settings.
Wire Damage / Faulty loop: In case of wire damage due to excavation, pinching during installation, old loop or other factors, identify and repair the damaged section of the loop wire or replace altogether. Test the loop to ensure proper functioning after the repair.
Corrosion or Moisture Issues: Inspect the loop wiring and connections for any signs of corrosion or moisture damage. Clean and replace corroded components, and apply appropriate sealants to prevent future issues.
Electrical Power Problems: If the loop detector or gate operator is not receiving power, check the electrical connections, fuses, and circuit breakers. Ensure proper power supply and consult a qualified electrician if needed.
Loop detector fault: if your loop is testing ok and your gate opener functions properly, your loop detector may be faulty and needs replacement.
General Gate Loop Terminology
Gate exit loop
A gate exit loop is specifically designed to detect vehicles when leaving a property or premises. It is installed up the driveway to trigger the gate to open for exiting vehicles. Gate exit loops are an essential and convenient component in gate access control systems, by ensuring that the gate is closed after a vehicle exits the premises.
Gate safety loop
Gate safety loops are designed to enhance safety measures by detecting the presence of vehicles or objects in potentially hazardous areas and preventing the gate from closing on vehicles.
When a safety loop detects an object within its designated area, it can trigger the gate system to stop or reverse its operation, preventing accidents or collisions. Safety loops are often used in conjunction with safety sensors and other protective devices to create a comprehensive safety system.
Gate shadow loop
A gate shadow loop is also known as a phantom or center loop - it is an additional loop installed with swing gates systems. Its purpose is to prevent false detection caused by the metal of the moving gate itself. Gate shadow loops are commonly used in swing gate systems, where the movement of the gate can create disruptions in the primary loop's electromagnetic field.
The gate shadow loop helps differentiate between the presence of a vehicle and the gate's shadow, ensuring accurate detection and minimizing false triggers.
Conclusion
Gate loops play a vital role in enhancing the functionality, safety, and convenience of gate systems. Understanding the mechanics behind gate loops, following proper installation procedures, and addressing potential issues through troubleshooting are essential for maximizing their performance.
As technology advances, gate loop systems are likely to benefit from various innovations, offering improved accuracy, connectivity, and durability. By staying informed about these advancements and evaluating the different vehicle detection methods available, you can make informed decisions about implementing gate loop systems that align with your specific needs.
Remember to consult manufacturers' guidelines and seek professional assistance when necessary to ensure optimal performance and longevity of your gate loops.
For more details feel free to contact us at Elitegates.net