In today's article, we will explore the process of programming your gate remote and adding it to your car. Gate remote programming is an essential skill that allows you to control your gate from a distance, providing convenience and security to your household. Additionally, integrating your gate remote with your car offers even greater convenience as you can operate both your gate and car with a single remote.
Understanding the Basics of Gate Remote Programming
Programming your gate remote might appear daunting at first, but understanding the fundamentals makes the process much simpler. Gate remote programming involves configuring your remote to communicate effectively with your gate's receiver unit. By doing so, you establish a secure and efficient link that enables remote operation.
When it comes to gate remote programming, there are a few key concepts to grasp. Firstly, the receiver unit is the device installed on your gate that receives signals from the remote. It acts as the intermediary between the remote and the gate's motor, translating the signals into actions. Secondly, the remote itself is a handheld device that transmits signals to the receiver unit, instructing it to open or close the gate.
Now, let's dive deeper into the importance of gate remote programming.
Importance of Gate Remote Programming
Proper gate remote programming ensures that your remote functions optimally, providing reliable access control to your property. It prevents unauthorized access, enhances security, and streamlines your daily routine. When you program your gate remote, you are essentially customizing its settings to suit your specific needs.
One of the key benefits of programming is the ability to set unique codes. This means that only individuals with the correct code can operate the gate. By having a personalized code, you can ensure that only trusted individuals have access to your property, adding an extra layer of security.
Gate remote programming also allows you to take advantage of various features offered by your remote. For example, you can set opening and closing delays, which can be particularly useful if you have a long driveway or need to coordinate the gate's operation with other activities. Additionally, you can implement code restrictions, such as time-based access or limiting the number of times a code can be used, further enhancing security.
It's important to note that gate remote programming is not a one-time task. As your needs change or if you need to add or remove users, you may need to reprogram your remote. Understanding the programming process will empower you to make these adjustments confidently.
Now that we understand the importance of gate remote programming, let's discuss the tools you'll need to get started.
Tools Needed for Programming Your Gate Remote
Prior to programming your gate remote, gather the necessary tools to ensure a smooth process. You will typically require a screwdriver, a ladder (for garage door programming), new batteries (if the remote is older), and the user manual provided with your gate remote. These tools will help you access the receiver unit, replace batteries if needed, and follow the programming instructions.
Some gate remotes may have additional requirements, so it's crucial to refer to the user manual for specific instructions. For example, certain remotes may require a programming adapter or a specific programming device to establish a connection with the receiver unit. The manual will provide detailed information on any additional tools or steps required.
Having all the necessary tools at hand will save you time and ensure a successful programming experience. It's always a good idea to read through the user manual before starting the programming process to familiarize yourself with the steps and any potential challenges you may encounter.
Now that we have covered the basics of gate remote programming and the tools required, you are ready to embark on the journey of configuring your gate remote to meet your specific needs. Remember, patience and attention to detail are key to a successful programming experience.
Step-by-Step Guide to Program Your Gate Remote
Now that we understand the basics, let's dive into the step-by-step process of programming your gate remote.
Programming your gate remote can seem like a daunting task, but with the right instructions, it can be a straightforward process. In this guide, we will walk you through the necessary steps to program your gate remote successfully.
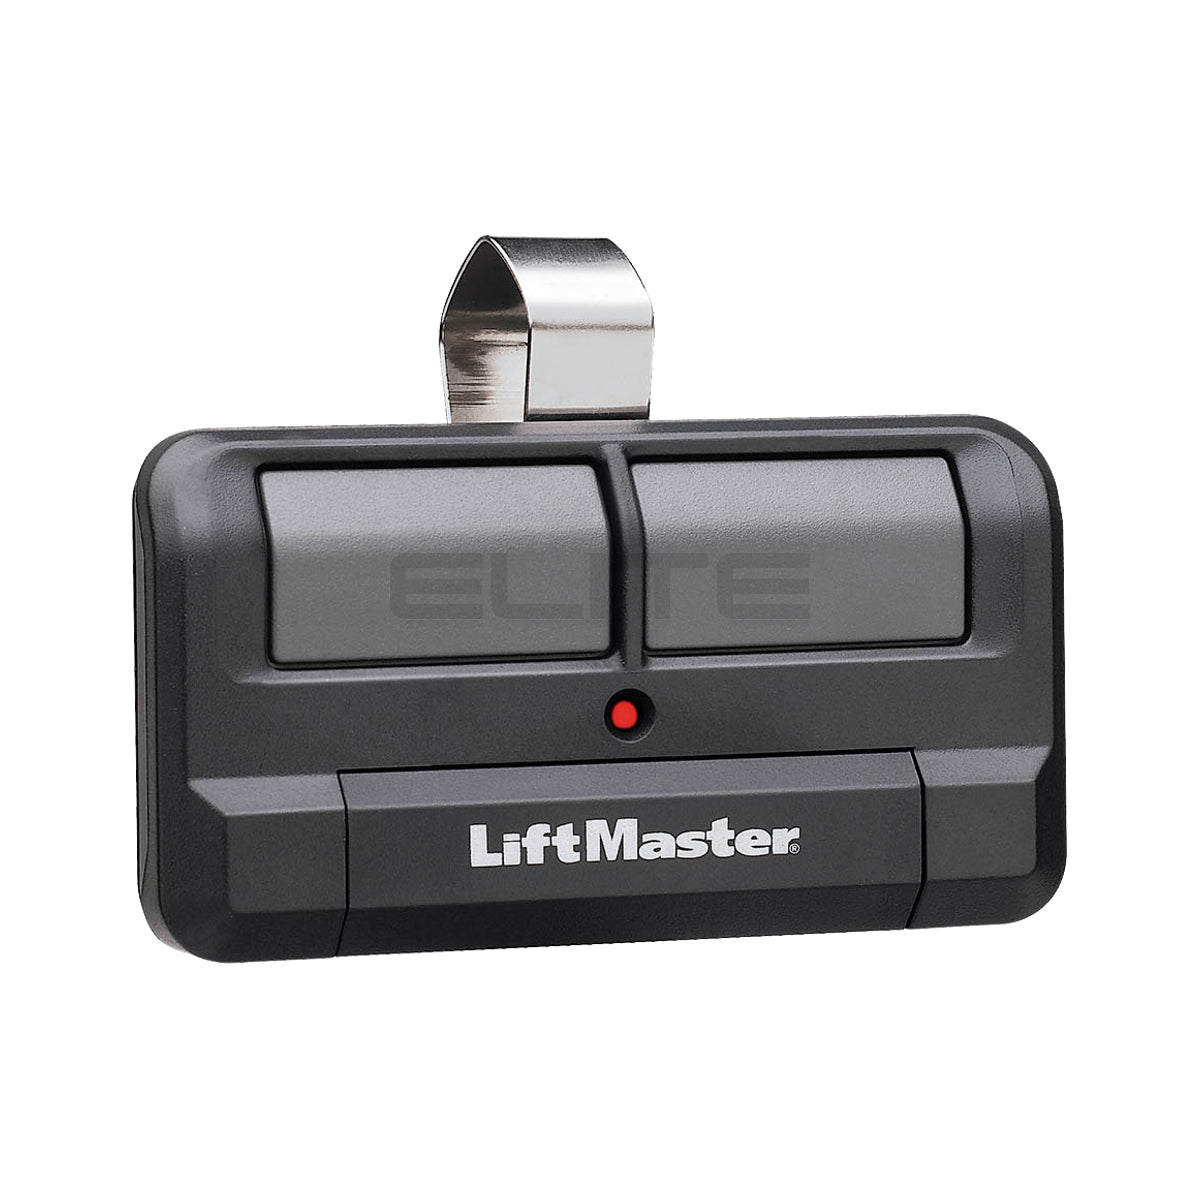
Identifying Your Gate Remote Model
The first step involves identifying your specific gate remote model. This information is vital as different gate remotes have their own programming methods. Refer to the user manual or check the manufacturer's website to find your model and ensure you have the correct programming instructions. If you need us to help you, you may email us a picture of your existing remote so we can find a suitable replacement.
Once you have identified your gate remote model, you are ready to proceed with the programming process. Remember to gather all the necessary tools and materials before you begin.
Programming Process for Fixed-Code Gate Remotes with Dip Switches


If you own a dip-switch gate remote such as Multicode and Linear, follow these general programming steps:
- Locate the receiver unit of your gate. This is usually a small box mounted near the gate or inside the gate opener. It may have a loose-wire antenna or a coax type of antenna.
- Locate the small window that holds the dipswitches of the receiver
- Locate the area of the remote that holds the dipswitches (usually by the battery compartment)
- Change the (up/down) dip-switches position of the remote to that of the receiver.
- If you wish to change the code altogether, change the dipswitches on both the receiver and remote to the new code you wish to set.
- Programming is done.
Now that you have programmed your gate remote, it's time to test it. Stand within range of your gate and press the remote button you just programmed. If the gate opens and closes as intended, congratulations! You have successfully programmed your gate remote.
Programming Process for Rolling Code Gate Remotes


- Have your remote handy
- Press the programming button on your receiver unit (the LED light will come on)
- Press the desired button on the remote
- Programming is done.
Now that you have programmed your gate remote, it's time to test it. Stand within range of your gate and press the remote button you just programmed. If the gate opens and closes as intended, congratulations! You have successfully programmed your gate remote.
Integrating Your Gate Remote with Your Car
In order to program a remote into your car's built-in system, please follow the vehicle's instructions manual to get into programming mode. Usually it means pressing one of the available button until the LED light blinks differently. At times you may need to erase all codes before proceeding. This is done by pressing to 2 outer buttons for about a min.
Programming a dipswitch remote to your car
- Make sure the remote you're going to use to program the car is working properly
- Hold your remote close to the button you want to program in the car
- Press both the remote and the built-in button until the car is programmed
- Test as needed
Programming a rolling code remote to your car (2-step process)
- Make sure the remote you're going to use to program the car is working properly
- Hold your remote close to the button you want to program in the car
- Press both the remote and the built-in button until the car is programmed
- Go to the gate and press the programming button of the receiver (just as you do when programming a new remote). One the led light comes on...
- Return to the car and press the button you just programmed into the car and hold until programmed
- Test as needed
Troubleshooting Common Programming Issues
If you encounter any difficulties during the programming process, refer to the user manual for troubleshooting tips. Issues such as the remote not syncing, the LED light not blinking, or the gate not responding can often be resolved by carefully following the instructions or performing a factory reset.
Remember to double-check all the steps and ensure that you are following the correct programming method for your specific gate remote model.
By following this step-by-step guide, you can easily program your gate remote and enjoy the convenience of opening and closing your gate with just a push of a button.
Benefits of Adding Your Gate Remote to Your Car
By adding your gate remote to your car, you can conveniently operate both your gate and car with a single remote. This eliminates the need for separate remotes and ensures you always have the necessary control devices readily available.
Compatibility Check: Car and Gate Remote
Before proceeding, check the compatibility between your car and gate remote. Some vehicles have built-in features to sync with gate remotes, while others may require additional devices or modifications. Check your car's user manual or consult a professional to ensure compatibility.
Maintaining Your Programmed Gate Remote
Now that you have successfully programmed and integrated your gate remote with your car, it's important to maintain its functionality to ensure long-term performance.
Regular Check-ups for Your Gate Remote
Perform routine check-ups on your gate remote to ensure it continues to function optimally. Inspect the battery compartment for any signs of corrosion or damage, and replace batteries as needed. Clean the remote's exterior and buttons regularly to prevent dirt and debris from interfering with proper operation.
Dealing with Battery Issues
If you notice a decrease in your gate remote's performance, such as unresponsiveness, it may indicate battery issues. Replace the batteries with new ones, ensuring they are the correct type and properly inserted. Refer to the user manual for specific battery replacement instructions.
Conclusion
By following this comprehensive guide, you can program your gate remote and seamlessly integrate it with your car. Enjoy the convenience and security of controlling both your gate and car with a single remote, and remember to maintain your gate remote regularly for continued functionality. Happy programming!
To view all the available remotes see: https://elitegates.net/collections/remote-controls